Welcome to Change is Simple’s Online Learning Platform!
Overview: Today we are going to learn all about reducing waste in our lives. We will see how much waste we truly create and what are some easy ways we can help lower that amount. We will be learning how to sew up a ripped shirt ourselves!
Grade Level: K-6
Theme: Waste Reduction
Supervision needed? Yes
Essential Questions:
What are natural resources?
Why should we care about how much waste we produce?
What is beneficial about reusing or repairing old stuff?
Materials Needed:
Ripped t-shirt or clothing
Needle
Thread
Scissors
Standards:
Introduction video
activity one - sewing
Supplies Needed:
Ripped t-shirt or clothing
Needle
Thread
Scissors
Step One:
Cut off plenty of thread in comparison to the length of the rip
Choose a thread color that matches the fabric
I CHOSE A DARK COLOR FOR A BETTER VISUAL
String the thread onto the needle (I used that silver guy to help me)
Pull the thread even in length on both sides
Step Two:
Tie a knot at the end of the two pieces of thread on the opposite side of the needle
Pull the knot tight
Step Three:
Turn your article of clothing inside out
Step Four:
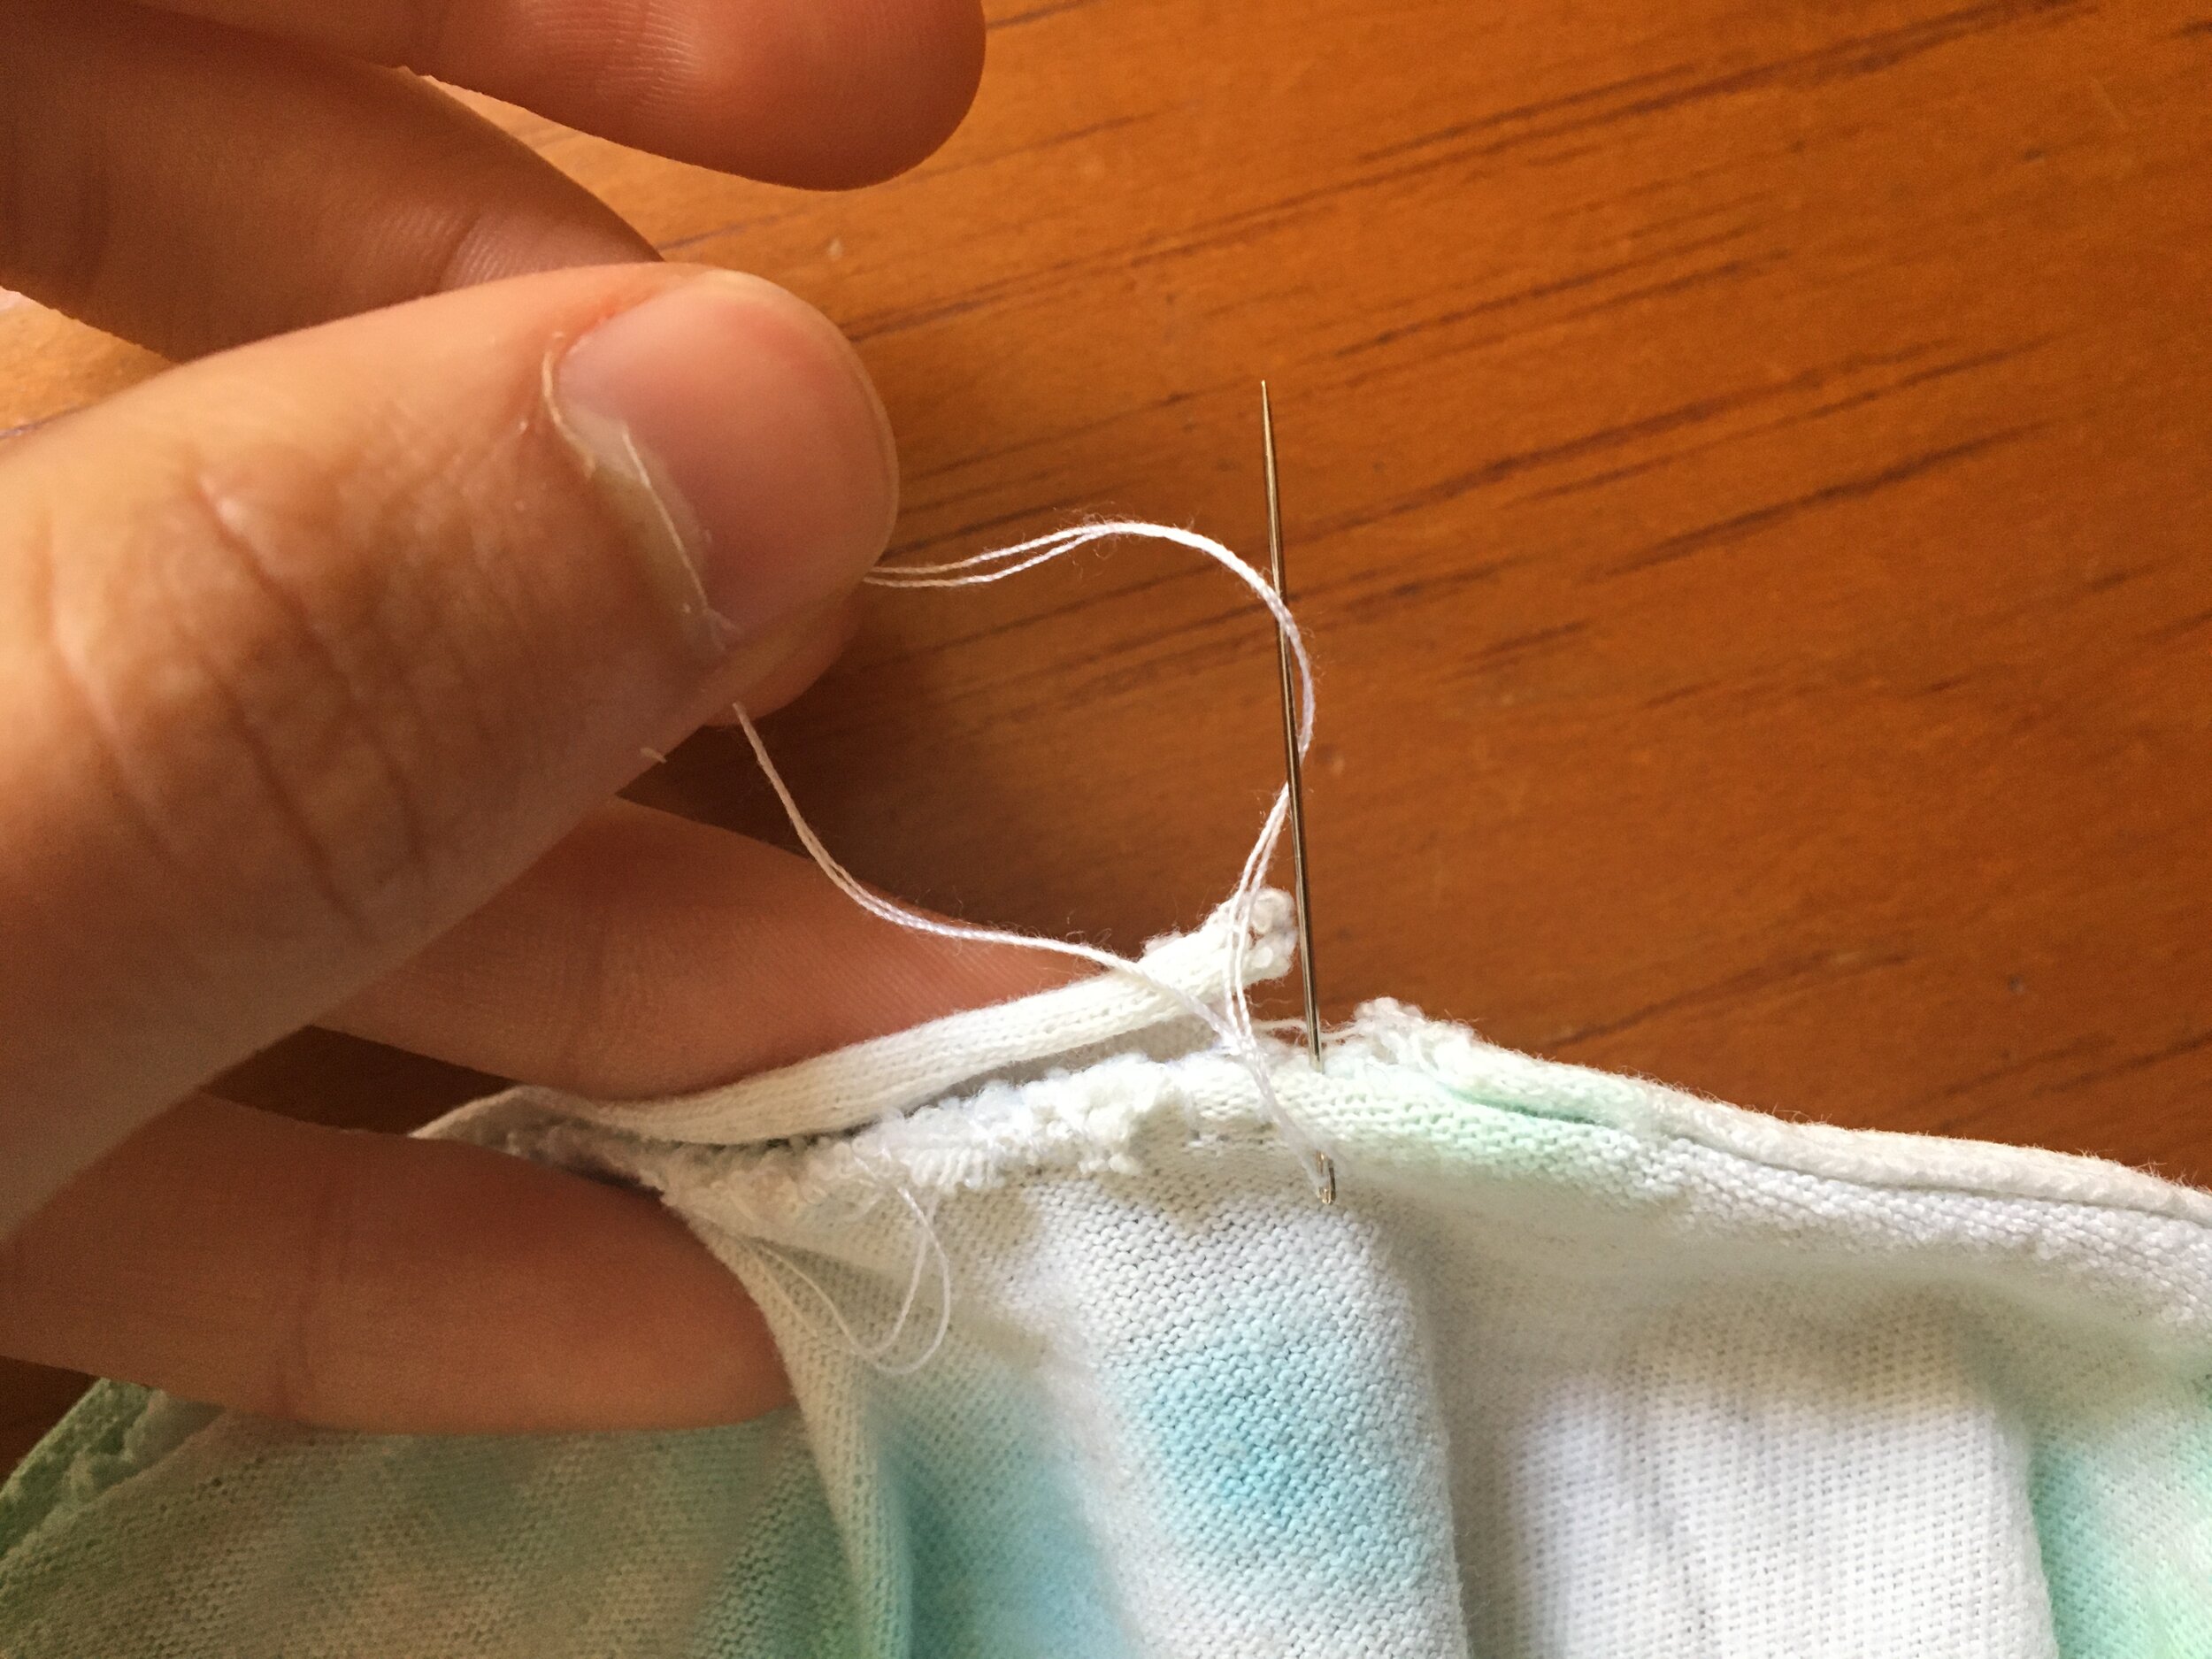
Pinch the two sides of the rip flat against each other
Step Five:
Push the needle through the two sides of the fabric
**Make sure to start a bit to the side of the opening to make sure you don’t miss any spots (I started to the left of my rip)
Gently pull it through until the knot reaches the first side of the fabric
**DO NOT PULL IT THROUGH**
Step Six:
Bring the needle back to the first side and push it through again right next to the first spot
Pull it through gently and pull mostly tight, but making sure not to pull the first knot through the fabric
Continue doing this until you have sewn past the other edge of the rip
**Make sure to continue to line up the two pieces of fabric making sure they are flat against one another.
Step Seven: Version #1
It’s time to make a finishing knot!
**sorry I switched yarn color :)
Put the needle through the two layers of fabric
Make a knot using the needle side of the thread on the back side of the shirt.
Continue to pull the needle through
Pull the needle, making the knot tight
Repeat 2-3 times
Step Seven: Version #2
As a secondary measure, you can tie a separate knot with the thread.
After the needle is through the fabric, tie a knot with the needle
Pull it tightly to the surface of the fabric on the back side
Step Eight:
Cut the excess thread
Turn the shirt right side out
Horray!! You’ve fixed your clothing!
activity two - alternative
What you will need:
Adult Supervision / Assistance
Item to fix
Creativity!
What can you fix in your house that is broken or needs repairing? Repairing things so we don’t have to throw them away is a huge way we can have a positive impact on the environment and save our precious natural resources!
Choose an item in your home that you would have thrown away and find a way to repair it.
Examples:
Jeans with a hole in them - patch them up!
Backpack with a rip or broken zipper - ask your parents for help sewing it up and fixing it
Turn cardboard boxes into a play space!
Repairing an old bookshelf or piece of furniture!
step 3: reflection
Question 1: Why is it important to sew up ripped clothing or repair items instead of throwing them away?
Question 2: What is all of our STUFF made from? (Hint: They occur naturally on earth)


