Waste Reduction

Reducing Waste (3 of 3)

Welcome to Change is Simple’s Online Learning Platform!

Overview: Today is a review of this unit’s information that was covered in the previous two lessons. Access to those two lessons is at the bottom of this page. Today’s activity is a set of questions through a form that is based on the topics from the 2 previous lessons.

Grade Level: K-6

Theme: Waste Reduction

Supervision needed? No

Essential Questions: 

Materials Needed:

Standards:

Today’s Activity:

This week we covered a few ways that we could reduce our waste production. We’d love for you to complete this reflection through Google Forms as today’s activity.

If you can’t access the page above, click on the link below to take you to the Google Form directly!


Not here on Monday or Wednesday? Here’s a refresher!

Check out these videos to get a sense of what we talked about.

Monday

Wednesday


Did you enjoy today’s activity? Stay tuned for more, and in the meantime…

Send us a photo of yourself doing today's activity and if you would like, please share your name(s) and where you are from with cisonline@changeissimple.org

Reducing Waste (2 of 3)

Welcome to Change is Simple’s Online Learning Platform!

Overview: Today we are going to learn all about reducing waste in our lives when we are in the kitchen! Today we will learn how we can make an impact by making our own food from scratch.

Grade Level: K-6

Theme: Waste Reduction

Supervision needed? Yes

Essential Questions: 

  • What are some ways we can create less waste?

  • What can we do with food waste that is more sustainable than putting it in the trash?

  • Why do we want to make food from scratch at home?

Materials Needed:

  • 2 Garbanzo Beans / Chick Peas

  • 1 Lemon / Lemon Juice

  • 2 Tbsp Oil (Olive Oil)

  • 1 Tsp Salt/Pepper

  • 1 Tsp Garlic

  • 1 Tsp Cumin

  • a Splash Water (Only if it’s too thick)

  • Food Processor / Blender / Or a Fork!

  • **add anything to this recipe that sounds yummy to you!

Standards:

Introduction video

activity one - hummus

Supplies Needed:

  • 2 Garbanzo Beans / Chick Peas

  • 1 Lemon / Lemon Juice

  • 2 Tbsp Oil (Olive Oil)

  • 1 Tsp Salt/Pepper

  • 1 Tsp Garlic

  • 1 Tsp Cumin

  • a Splash Water (Only if it’s too thick)

  • Food Processor / Blender / Or a Fork!

  • **add anything to this recipe that sounds yummy to you!

**ALL OF THE AMOUNTS OF INGREDIENTS ARE SUGGESTED, ADD HOWEVER MUCH OF EACH TASTES GOOD TO YOU!

IMG_0449.JPG

Step One:

  1. Use a Can Opener to open and drain the chick peas. Don’t drain all of the water. It can be helpful to use later if the hummus is too dry.

  2. Cut the lemon in half and squeeze out the juice

    1. I typically use one whole lemon per 2 cans of chick peas.

Step Two:

  1. Toss in the chick peas into the food processor!

  2. Pour in the lemon juice!

    1. My food processor is small so I had to use half the amount of chick peas and lemons for each round.

  3. Pour in the olive oil. Use about 2 Tbps per can of chick peas

  4. Toss in the spices!

IMG_0414.JPG

Step Three:

  1. Blend it up!!

  2. If it doesn’t mix all the way through… you may need to add more oil and possibly a splash of water!

**Once it’s blended up, do a taste test and add more of what you think will make it taste better!**

**If you don’t have a blender / food processor - check out Step Six for suggestions**

IMG_0462.JPG

Step Four:

  1. Make sure to compost any food scraps!

When food scraps are composted, the nutrients in them are broken down into healthy soil to be used to grow new fruits and vegetables.

**If food scraps are placed into the trash can, the nutrients in them will not be turned into new soil.

  • Landfill: There isn’t any oxygen, so the food cannot decompose properly into soil SO it breaks down anaerobically which means it will release a lot of methane gas (greenhouse gas)!

Step Five:

Voila! Hummus is made and can be stored in a reusable container that can be washed out when your hummus is all eaten up. Then cleaned out and reused for the next batch of hummus!

IMG_0463.JPG

Step Six: Alternatives

  • No Blender? No Problem!

    • Use a fork or some other tool to mash the ingredients together. Don’t worry! It will still come out just as good! It just may be a bit chunky, but hey, it’s still hummus :)

  • Want to add different herbs or spices? GO FOR IT! Anything goes. Just try stuff out.

  • Want to add some flavor? Saute some chopped onions in olive oil in a pan for 5-10 minutes, then add to the mix to blend together!


activity two - alternative

If you don’t have the supplies to make hummus or want to make something different, we encourage you to:

  1. Think of one item you buy in the store that comes in a lot of plastic packaging

  2. Search Google for a good recipe to make it from scratch (you may have to try a few different things - some things are harder to make than others!)

  3. Make the recipe with an adult! Have fun with it!

What you will need:

  • Adult Supervision / Assistance

  • Some food and spices

  • Creativity!

Examples:

  • Bread - this comes in SO much plastic film and we can easily make it from scratch and create less plastic waste!

  • Granola / Granola Bars - Individually wrapped items have a huge carbon footprint and plastic waste generation - try making it from scratch with healthier ingredients and with less waste!

  • Oatmeal - Many times this is individually wrapped in plastic. This can easily be made at home from rolled oats and whatever else you want to add to make it delicious!

reflection

Question 1: Did you have fun making food from scratch?

Question 2: Why do we want to make food from scratch at home instead of buying the packaged items in the grocery store?


Did you enjoy today’s activity? Stay tuned for more, and in the meantime…

Send us a photo of yourself doing today's activity and if you would like, please share your name(s) and where you are from with cisonline@changeissimple.org

Reducing Waste (1 of 3)

Welcome to Change is Simple’s Online Learning Platform!

Overview: Today we are going to learn all about reducing waste in our lives. We will see how much waste we truly create and what are some easy ways we can help lower that amount. We will be learning how to sew up a ripped shirt ourselves!

Grade Level: K-6

Theme: Waste Reduction

Supervision needed? Yes

Essential Questions: 

  • What are natural resources?

  • Why should we care about how much waste we produce?

  • What is beneficial about reusing or repairing old stuff?

Materials Needed:

  • Ripped t-shirt or clothing

  • Needle

  • Thread

  • Scissors

Standards:

Introduction video

activity one - sewing

Supplies Needed:

  • Ripped t-shirt or clothing

  • Needle

  • Thread

  • Scissors

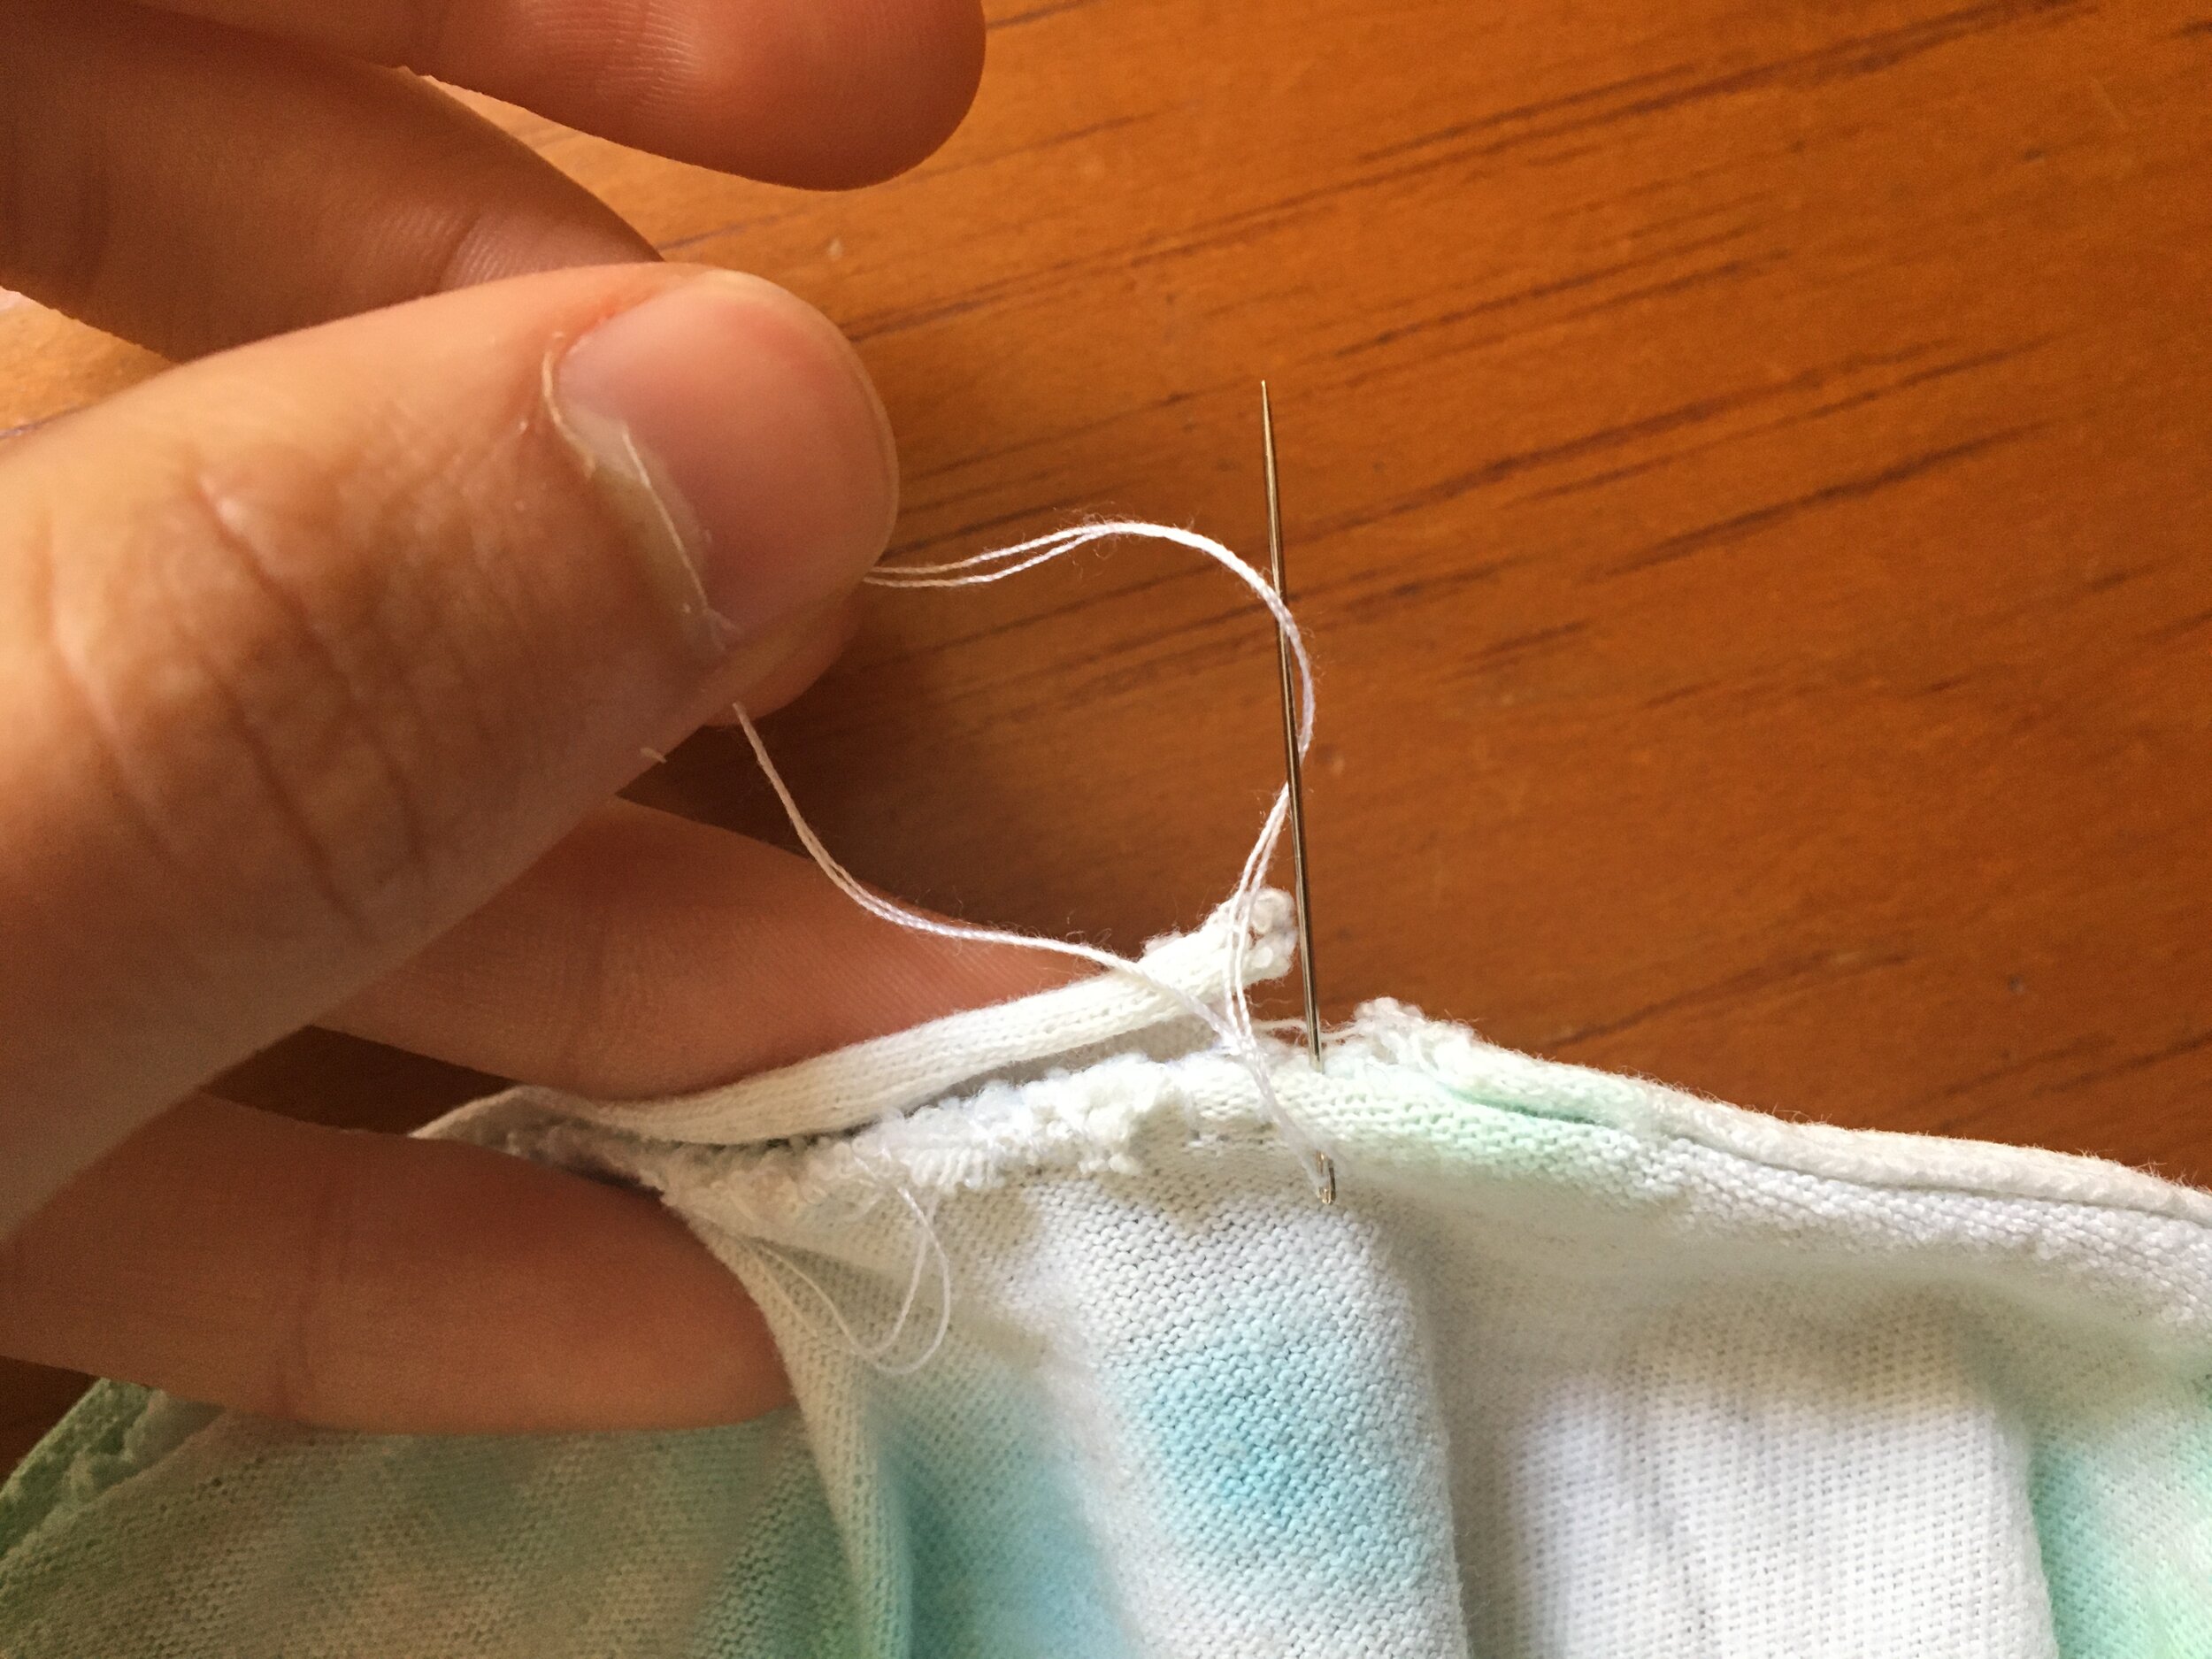
IMG_0412.JPG

Step One:

  • Cut off plenty of thread in comparison to the length of the rip

    • Choose a thread color that matches the fabric

I CHOSE A DARK COLOR FOR A BETTER VISUAL

  • String the thread onto the needle (I used that silver guy to help me)

  • Pull the thread even in length on both sides

IMG_0413.JPG

Step Two:

  • Tie a knot at the end of the two pieces of thread on the opposite side of the needle

IMG_0414.JPG
  • Pull the knot tight

IMG_0415.JPG

Step Three:

  • Turn your article of clothing inside out

IMG_0416.JPG

Step Four:

  • Pinch the two sides of the rip flat against each other

IMG_0417.JPG

Step Five:

  • Push the needle through the two sides of the fabric

  • **Make sure to start a bit to the side of the opening to make sure you don’t miss any spots (I started to the left of my rip)

IMG_0418.JPG
  • Gently pull it through until the knot reaches the first side of the fabric

  • **DO NOT PULL IT THROUGH**

IMG_0419.JPG

Step Six:

  • Bring the needle back to the first side and push it through again right next to the first spot

  • Pull it through gently and pull mostly tight, but making sure not to pull the first knot through the fabric

IMG_0420.JPG
  • Continue doing this until you have sewn past the other edge of the rip

  • **Make sure to continue to line up the two pieces of fabric making sure they are flat against one another.

IMG_0423.JPG

Step Seven: Version #1

It’s time to make a finishing knot!

**sorry I switched yarn color :)

  • Put the needle through the two layers of fabric

IMG_0425.JPG
  • Make a knot using the needle side of the thread on the back side of the shirt.

IMG_0433.JPG
  • Continue to pull the needle through

IMG_0434.JPG
  • Pull the needle, making the knot tight

  • Repeat 2-3 times

IMG_0436.JPG

Step Seven: Version #2

As a secondary measure, you can tie a separate knot with the thread.

  • After the needle is through the fabric, tie a knot with the needle

IMG_0424.JPG
  • Pull it tightly to the surface of the fabric on the back side

IMG_0426.JPG

Step Eight:

  • Cut the excess thread

  • Turn the shirt right side out

  • Horray!! You’ve fixed your clothing!

IMG_0429.JPG

activity two - alternative

What you will need:

  • Adult Supervision / Assistance

  • Item to fix

  • Creativity!

What can you fix in your house that is broken or needs repairing? Repairing things so we don’t have to throw them away is a huge way we can have a positive impact on the environment and save our precious natural resources!

Choose an item in your home that you would have thrown away and find a way to repair it.

Examples:

  • Jeans with a hole in them - patch them up!

  • Backpack with a rip or broken zipper - ask your parents for help sewing it up and fixing it

  • Turn cardboard boxes into a play space!

  • Repairing an old bookshelf or piece of furniture!

step 3: reflection

Question 1: Why is it important to sew up ripped clothing or repair items instead of throwing them away?

Question 2: What is all of our STUFF made from? (Hint: They occur naturally on earth)


Did you enjoy today’s activity? Stay tuned for more, and in the meantime…

Send us a photo of yourself doing today's activity and if you would like, please share your name(s) and where you are from with cisonline@changeissimple.org

Waste Management

Welcome to Change is Simple’s Online Learning Platform!

Overview: Today we will be learning about sorting our trash (we call it waste), learning what bin certain items go into, and what alternatives we can make to our lives to produce LESS waste. Please enjoy today’s activity!

Grade Level:  3-5

Theme: Earth Systems

Supervision needed? No

Essential Questions: 

  • Why is reducing our waste important?

  • What is the best “R” action we can take to reduce how much waste we create?

Materials Needed:

  • One sheet of white paper OR the printed PDF of the worksheet

  • Computer, iPad, or phone

Standards:

  • Ecological Health 13.4 Identify individual and community responsibility in ecological health.

  • Ecological Health 14.2 Identify ways the physical environment is related to individual and community health

  • 14.3 List practices and products that make living safer.

Activity 1

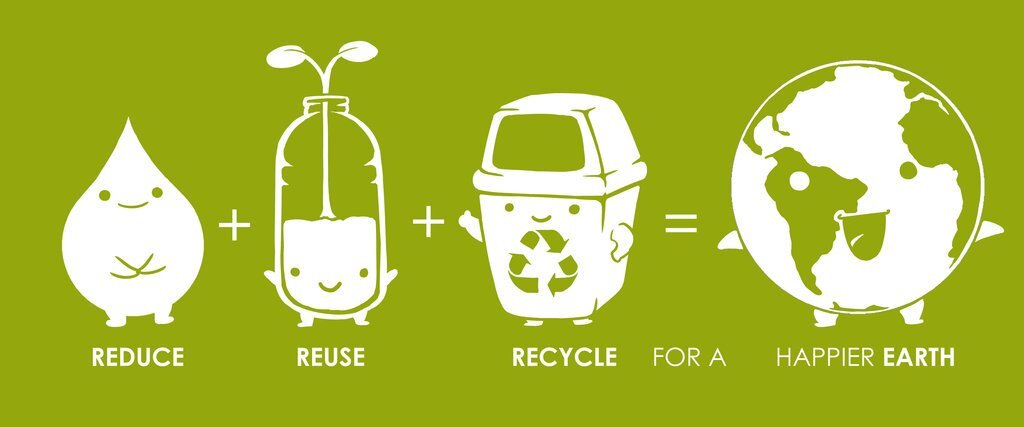
reduce-reuse-recycle.jpeg
 

step 1: reduce, reuse & recycle

In today’s first activity, we are going to be watching a video! In this video we are going to be learning about how we sort our waste. While watching this video, use the worksheet below to write down the items that are described during the video! Feel free to pause the video when you need to write down an item.

Once the video is done, your job will be to come up with alternatives to each of those items. What could you use instead of that item?

             Item #                                                                             Alternative?

Item #1 _________                                                                __________

Item #2 _________                                                                __________

Item #3 _________                                                                __________

Item #4 _________                                                                __________

Item #5 _________                                                                __________


Step 2: alternatives

Watch this video about alternatives and how Eric applied some changes to his life that helps him have a positive impact on the environment!


step 3: reflection

Question 1: Which is the most important of the three R’s? 


Question 2: Choose an item and then describe why its alternative will have a positive impact on the environment. 

____________________________________________________________________________________________________________________________________________________________________________________________________________________________________________________________________________________________________________________________________


Question 3: What is one alternative that you want to apply to your life? Why do you want to apply that change?

____________________________________________________________________________________________________________________________________________________________________________________________________________________________________________________________________________________________________________________________________


step 4: additional learning

Want to learn more? We have a few resources for you if you’re interested in further learning!

Interested in learning about the specific types of plastics talked about in today’s lesson and how to sort them? Check our our awesome Change is Simple Video on Plastics!!


Did you enjoy today’s activity? Stay tuned for more, and in the meantime…

Send us a photo of yourself doing today's activity and if you would like, please share your name(s) and where you are from with cisonline@changeissimple.org